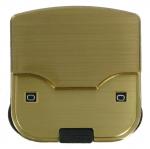
Brushed Briefcase 3 Position Lock Brass
Product Code: ohl3173bn
This range of replacement parts is useful for practically minded people, who have a broken briefcase they do not want to part with and who do not have a saddler or luggage repairer in their neighbourhood.Click on thumbnail to enlarge | ||
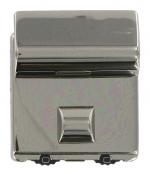
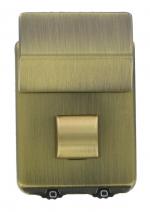
Brushed Briefcase 3 Position Lock Brass ![]() | Brushed Nickel Briefcase 3 Position Lock ![]() | Brushed Brass Briefcase 3 Position Lock ![]() |
Fitting A Briefcase Lock | ||||||||||
Step 1 | Remove the old hasp from the flap by un-screwing it or drilling out the screws. | |||||||||
Step 2 | Put the new hasp on the Flap of the case and secure in place with the grub screws. | |||||||||
Step 3 | Cut the lining or un-stitch a seam to reveal the back of the old lock. | |||||||||
Step 4 | Prise up the metal prongs securing the old lock remove the back plate and then remove the lock. | |||||||||
Step 5 | To ensure correct positioning of the new lock engage it into the hasp on the flap and (whilst the lock is engaged) gently press the lock prongs into the main panel of the bag. | |||||||||
Step 6 | After the above method you should see 4/2 prong marks indicating where you need to cut the panel. Cut the panel gently with a craft knife ensuring the slot is not too long (its easy to apply too much pressure with a sharp knife). | |||||||||
Step 7 | Push the prongs through the slots and on the inside put the back plate over the prongs and fold them down. | |||||||||
Step 8 | Once you are happy the lock is in the correct position (having opened and close it a couple of times) stick/ stitch the lining back. (A patch can be cut and stuck with evo-stick or you could simply use a fabric tape.) |